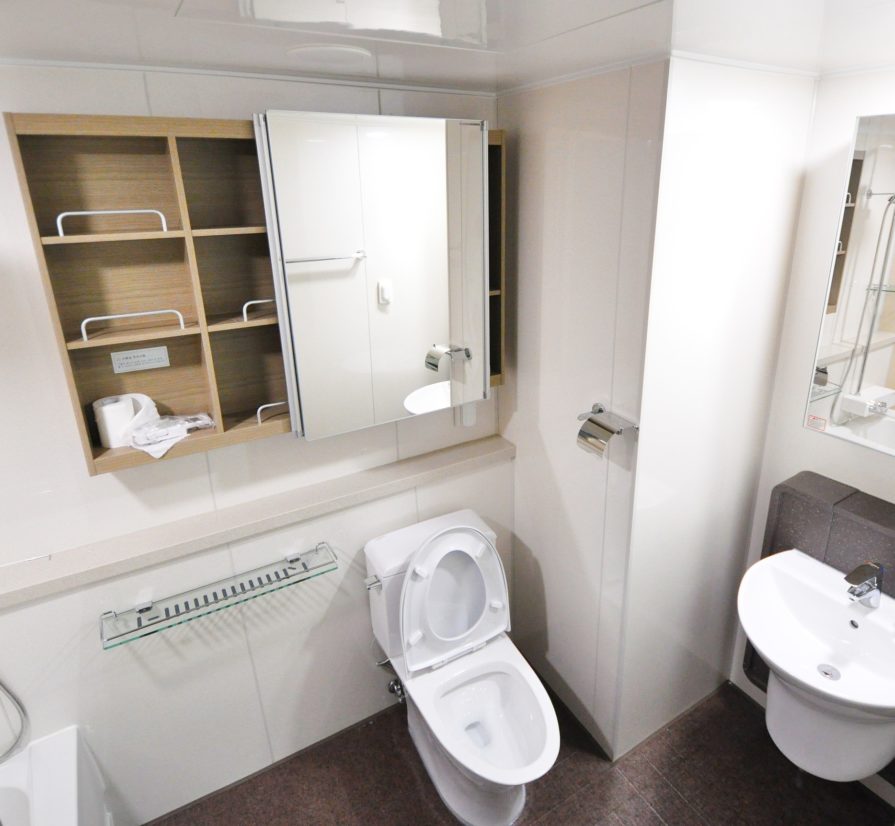
Does the occasional sound of a running toilet confuse and irritate you? Whether it’s constant or sporadic, an old toilet flapper could be to blame. Loose, leaking toilet flappers aren’t just annoying to listen to. They’re wasteful and can end up costing you a pretty penny in water bills. One leaking flapper can waste hundreds of gallons of water in just one day. Luckily, a good toilet flapper is inexpensive (less than $10) and easy to install yourself! Here’s a simple how-to that will remain relevant in every home you live in throughout the years.
For this tutorial you may need:
- Flathead screwdriver
- Channel locks
- Utility knife
1. First things first. Locate your toilet shut-off valve. It’s generally located underneath and to the left of your toilet. Rotate it all the way to the right to shut off the water supply to your toilet.
2. Next, remove the lid on your toilet tank and flush the toilet. If you performed Step 1 correctly, the tank should not refill with water.
3. Remove the flapper by unhooking its attached chain from the toilet handle and flush valve.
4. Replace the old flapper with the new one. Make sure when connecting the chain that it isn’t too tight or too slack. Ideally, the chain should hang with a slight curve.
5. Now turn your shut-off valve back to the left to allow water back into the tank. When it fills, flush the toilet to see if the flapper is working correctly.
6. If the flapper and chain fit and work correctly but the water still rises over the overflow tube, use your flathead screwdriver to tighten the float adjustment screw. Turning the screw clockwise will make the fill valve turn off sooner.
You can easily replace your toilet flapper at home to save water and money. This knowledge will come in handy for years and years to come. If replacing the flapper doesn’t stop your toilet from running or for more serious plumbing problems, schedule a visit from your local plumber.
Need more plumbing tips? Take a look at and veer away from these four worst plumbing habits.


